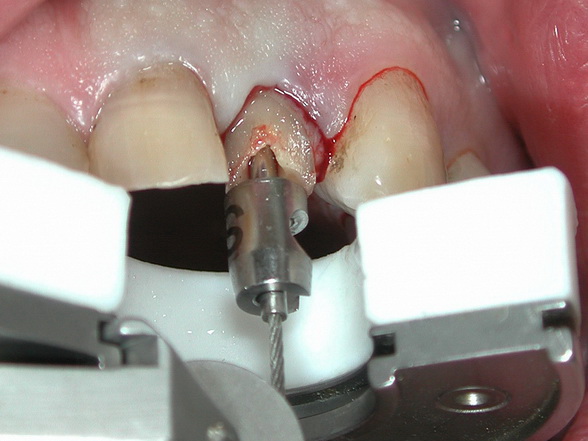
step by step pictures
1. Detaching the sulcus-desmodontal fibers
Sever the desmodontal fibers (Sharpey's fibers) in the sulcus with the periotome or Zepf's X Desmo tool.
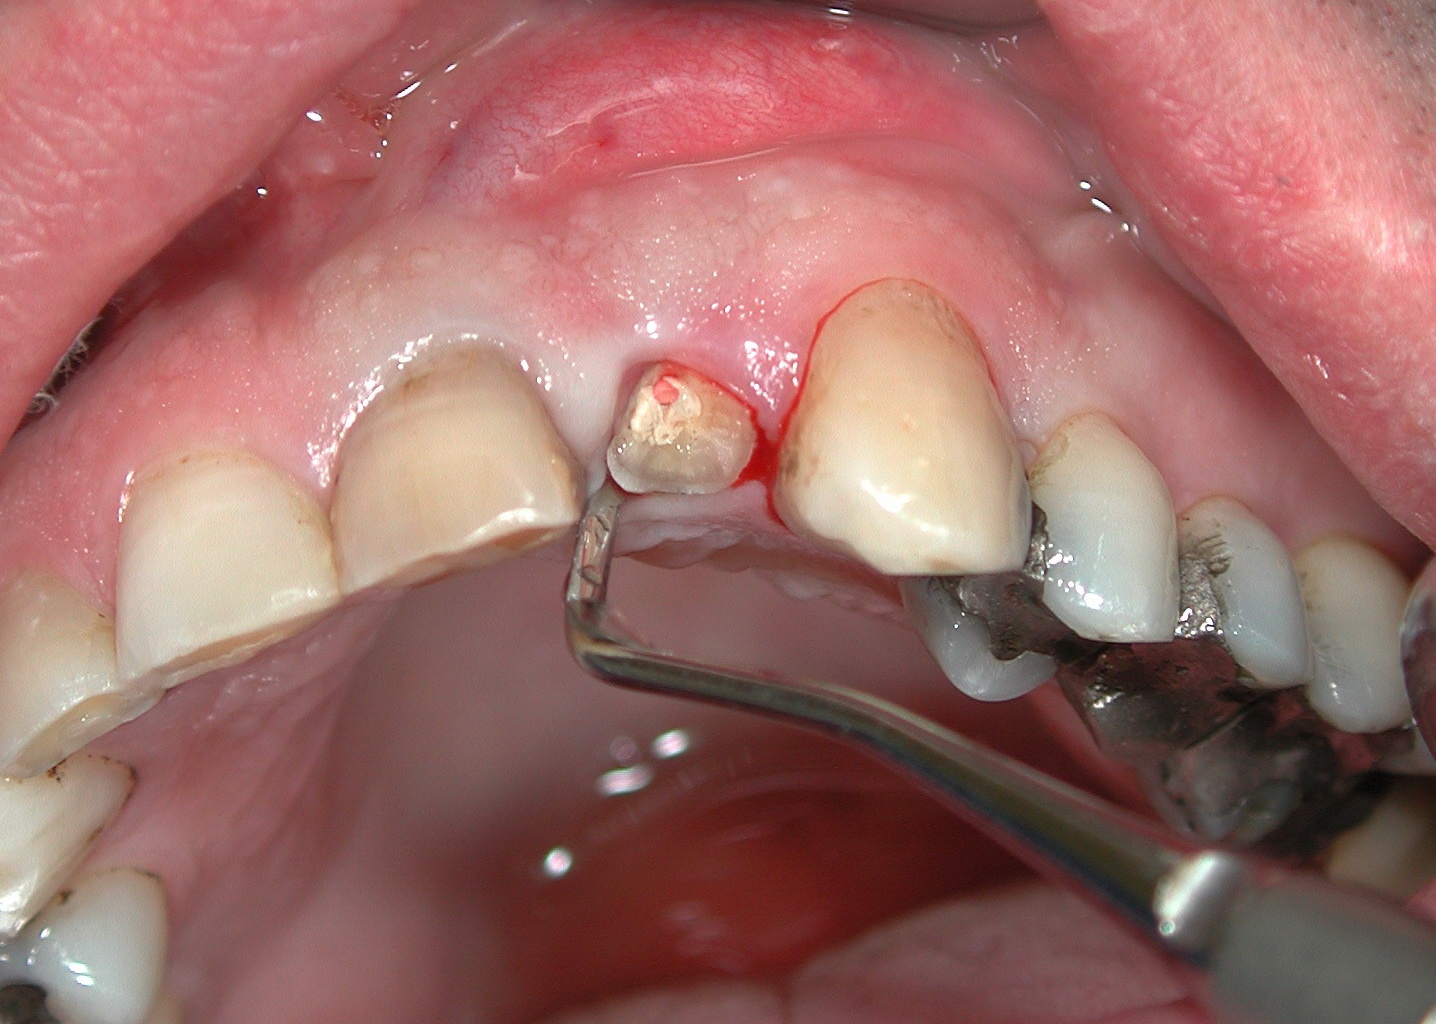
2. Loosening/Severing the root
The roots need loosening/luxating axially and sagittally (mesio-distally) with a delicate lever/twister (Zepf's Xtool) for 30 seconds, no transversal (bucco-lingual) movements. Strong roots need to be loosened for 60 seconds.
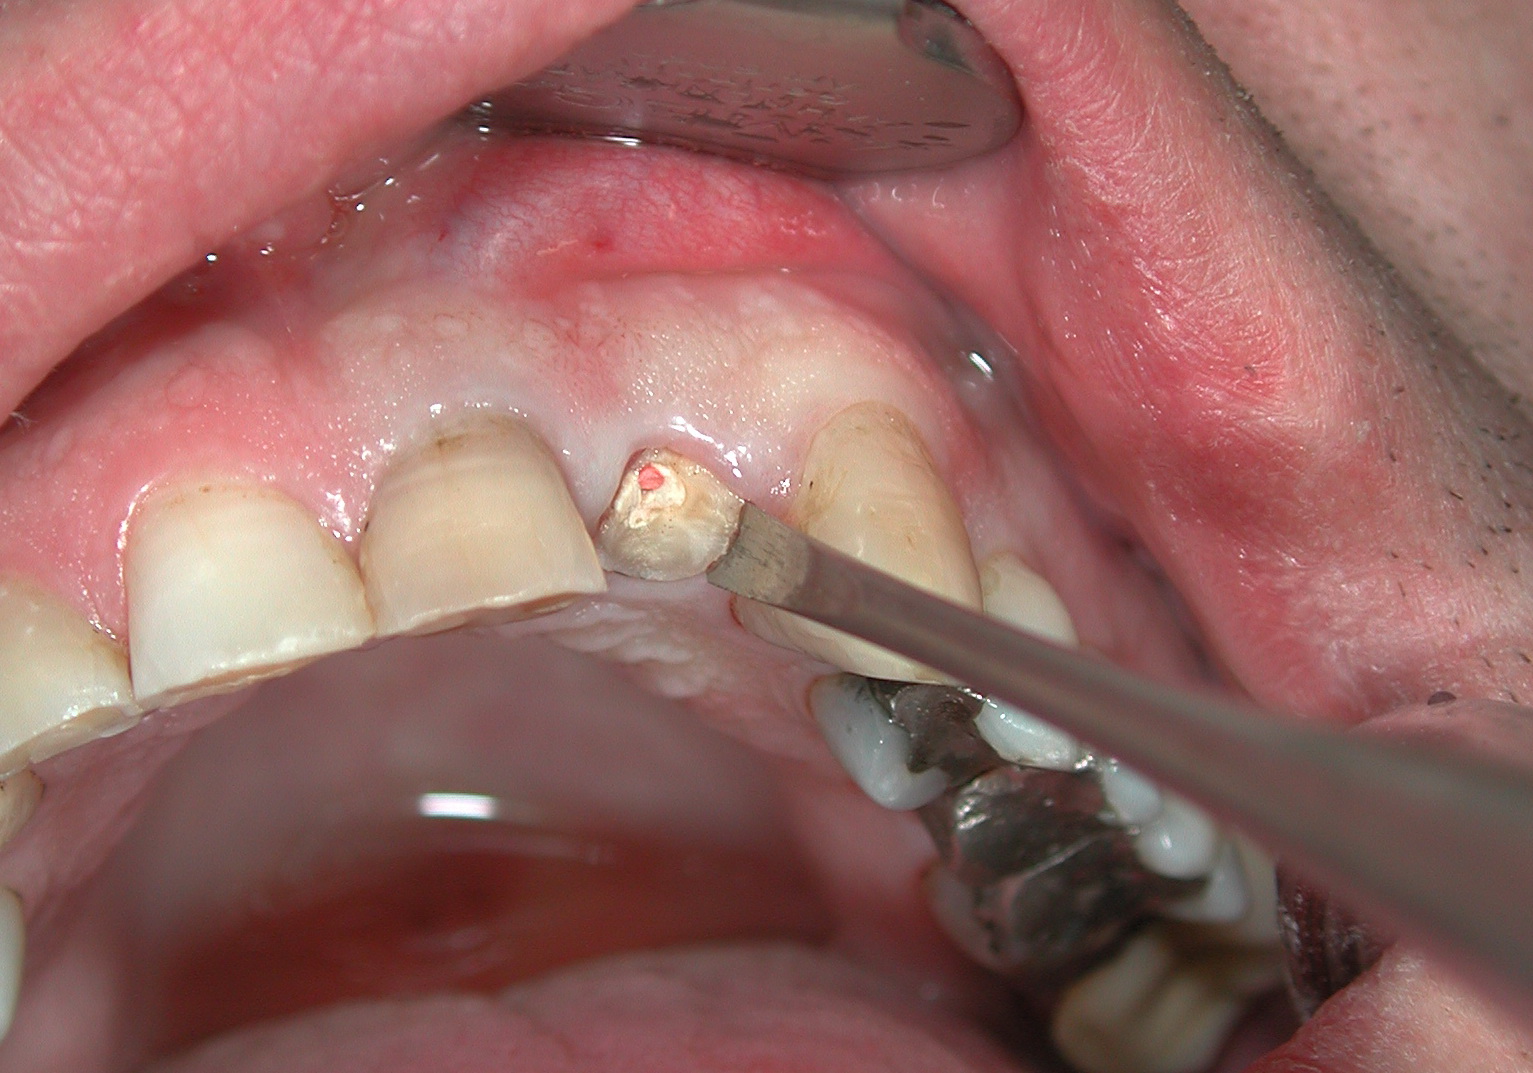
3. Channel preparation
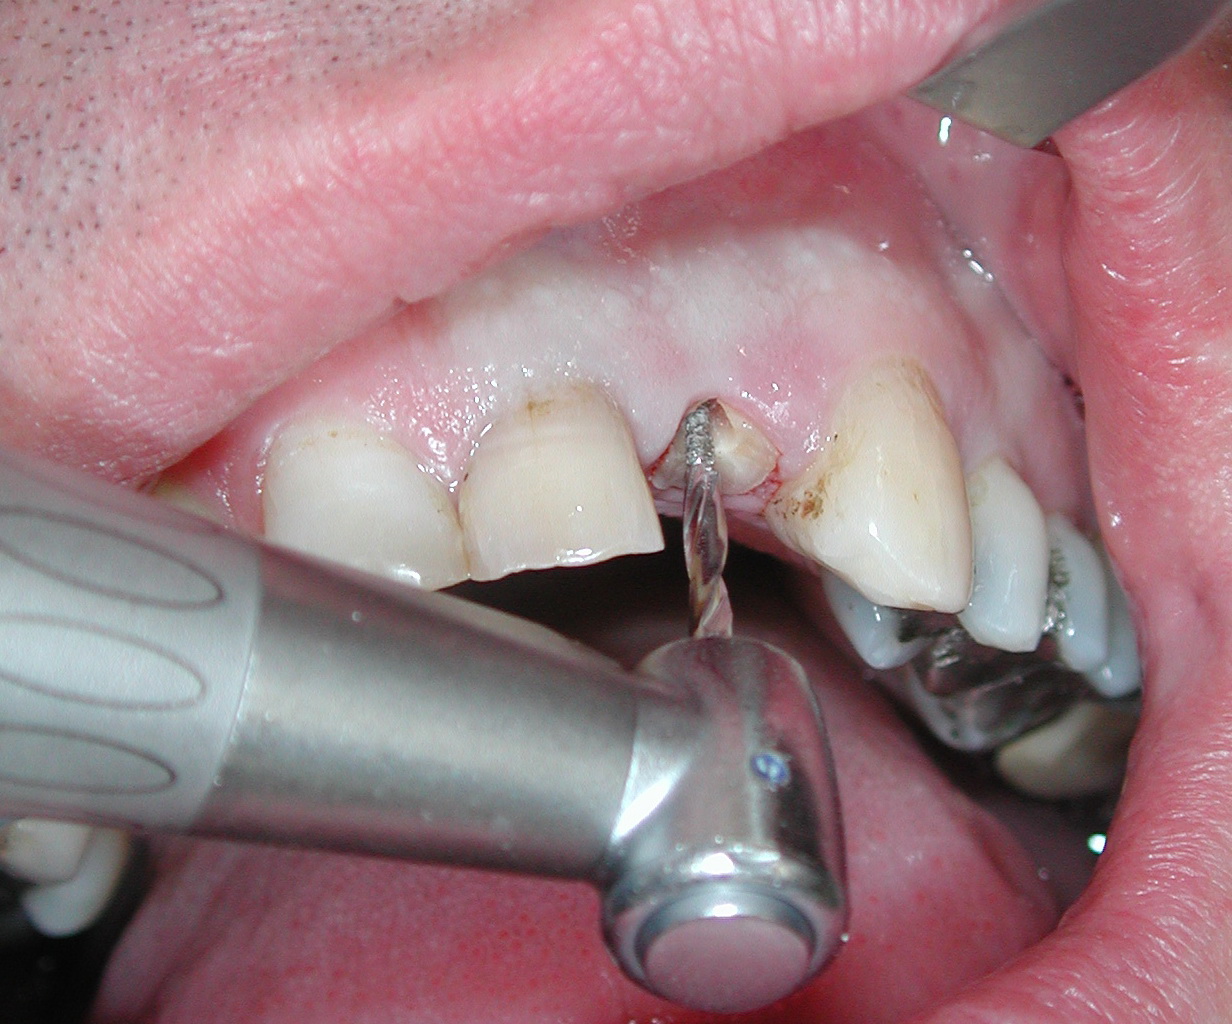
A channel drilling with a trephine (trephine drill) makes it easy to determine the tooth axis and removes any channel filling material to prevent the diamond drill from smearing.
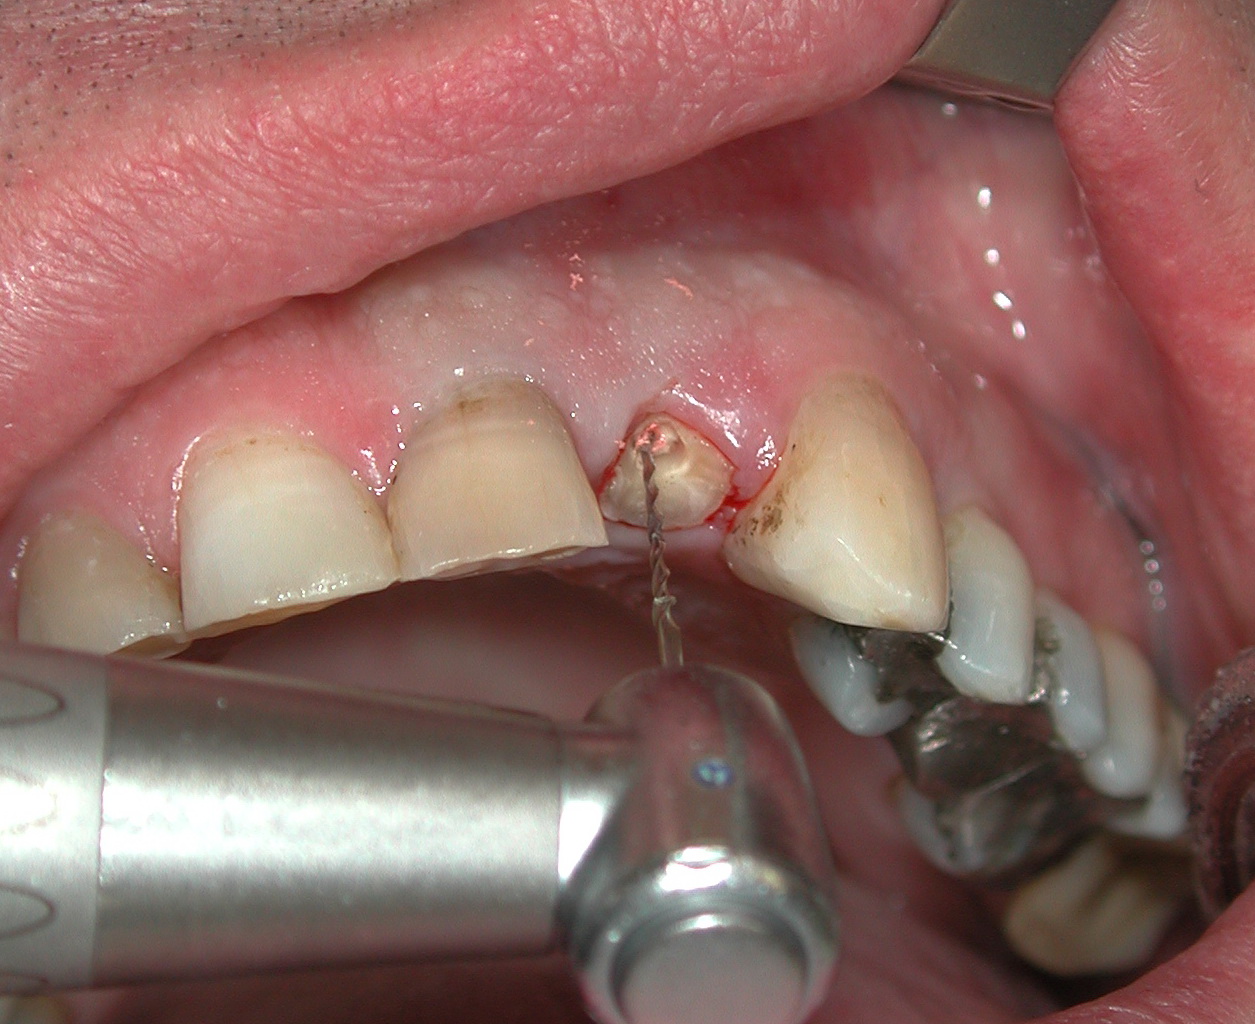
4. The Benex drilling
Preferably, the drilling with the diamond coated twist drill should be done in the axis and in the center of the root fragment.
- The diamond drilling should be about 7 mm into the firm hard tissue; no deeper drilling is required.
- The drilling is water-cooled.
- To better remove the chips, make inward and outward movements when drilling deep.
5. Inserting the extraction screw
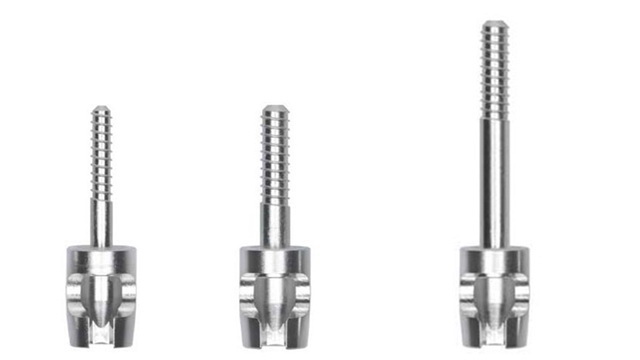
Depending upon circumstances, insert the short/long or thin/thick extraction screw using the insertion aid. ![]()
6. Positioning the extractor
Position the extractor on the adjacent tooth crowns: Align the opening of the round, rotatable support disc in a vestibular direction (good view of the extraction screw).
Hook the draw-wire on the extraction screw, pass it across the pulley and attach it to the hook of the extraction slide. Turning and tensing the hand screw slightly (so that the wire does not detach), move the instrument onto the adjacent teeth.
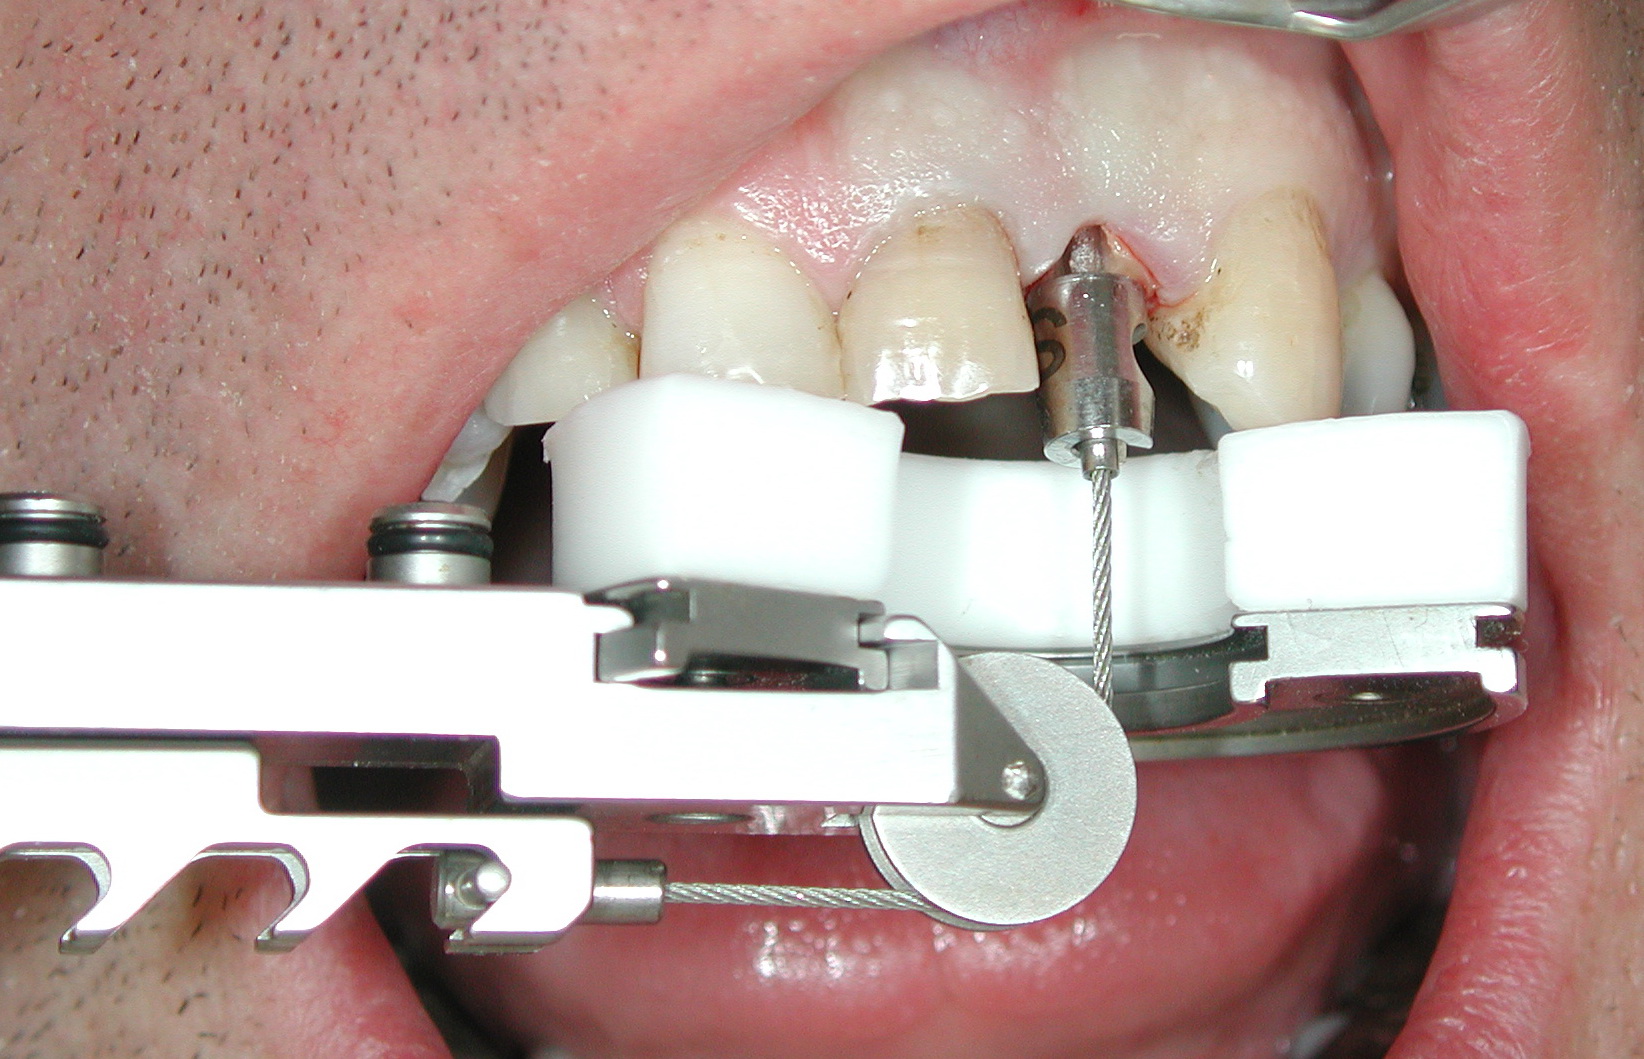
Position in such a way that the screw and wire are in the same axial direction. For this sometimes the bevelled support disc ...
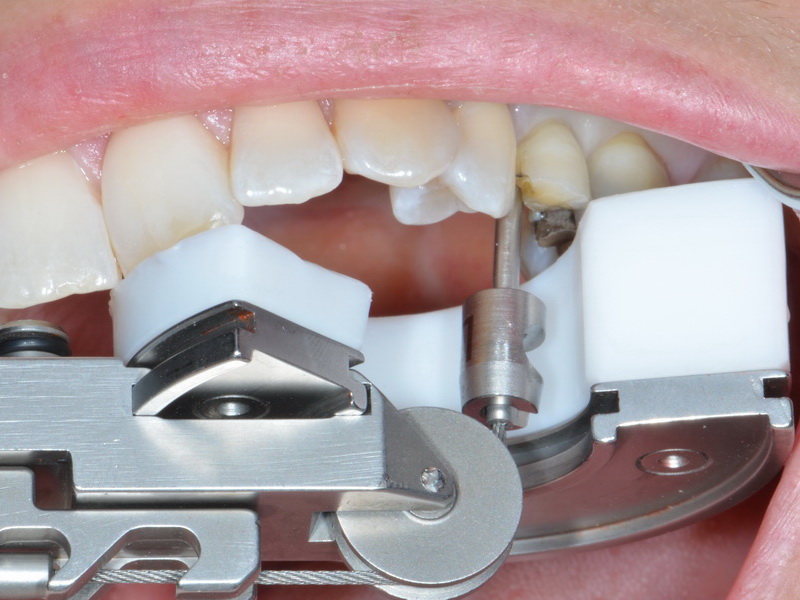
… or the quadrant support is needed
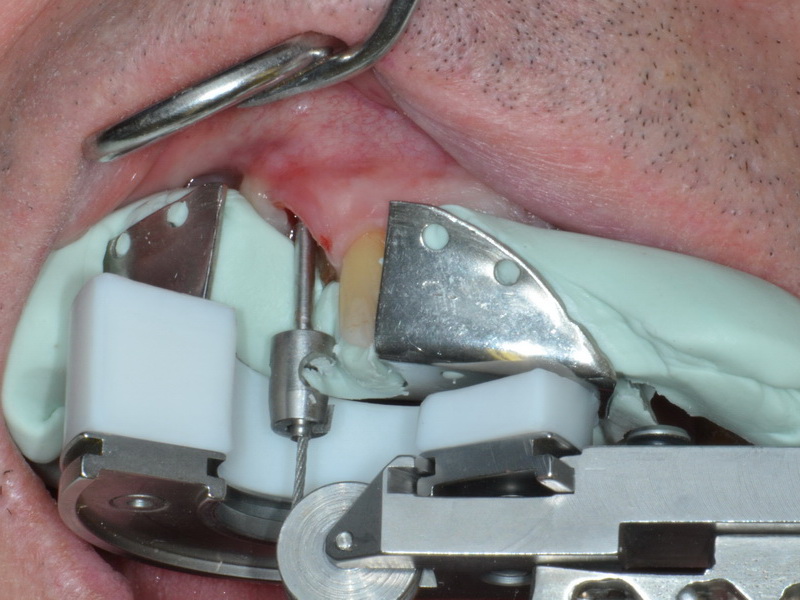
7. Extraction
After one to three minutes of constant tension the periodontal fibers tear (first drops of blood appear in the sulcus) and the root detaches from the socket.
